Mastering the Art of Taping Drywall: A Guide to Perfect Joint Finish
Mastering the Art of Taping Drywall: A Guide to Perfect Joint Finish
TAPING DRYWALL DIY
MrWalls Drywall & Paint
12/7/20252 min read
Introduction to Drywall Taping
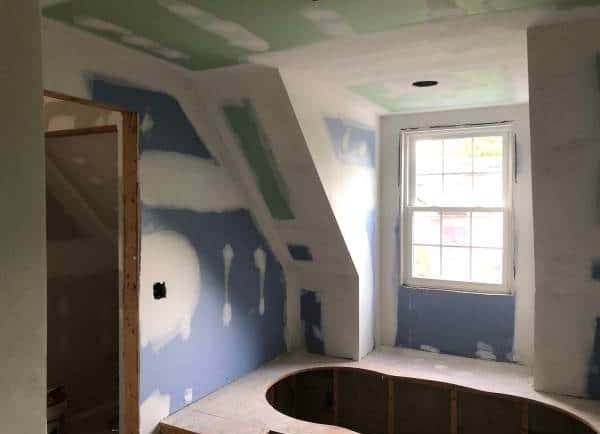
Taping drywall is a crucial step in achieving a smooth and professional finish in any construction or renovation project. It involves applying tape over the seams between drywall panels, followed by a joint compound. While this process may seem straightforward, one of the key skills to master is knowing how to wipe joint tape flat without squeezing too much mud out. This guide will help you understand the best practices for achieving optimal results.
Understanding the Importance of Proper Technique
The technique you use when applying joint tape affects the final appearance and durability of your walls. If you wipe too hard, you risk removing too much joint compound, which can lead to uneven surfaces and additional sanding work later on. On the other hand, if you don’t apply enough pressure, the tape may not adhere properly, leading to cracks and peeling paint. Striking the right balance is essential for a seamless finish.
Steps to Ensure a Flat Joint Tape Application
To properly wipe your joint tape flat, begin by preparing your materials. You will need a taping knife, joint compound, and of course, the joint tape. Here are the steps to follow:
- Apply the Joint Compound: Start by applying a thin layer of joint compound to the seam using your taping knife.
- Position the Joint Tape: Carefully place the joint tape over the compound, ensuring it is centered on the seam.
- First Pass Wipe: With your taping knife, gently press the tape into the compound at approximately a 30-degree angle. Start from the center and wipe outward. This helps to embed the tape into the mud.
- Avoid Excess Compound: As you wipe, be mindful not to squeeze too much mud out. The goal is to have the tape flat against the drywall while keeping a thin layer of compound underneath.
- Final Adjustments: After your first wipe, check for any bubbles or uneven areas. If present, you can smooth these out with a light, secondary wipe.
By following these instructions, you will ensure that your joint tape is applied smoothly, allowing you to apply subsequent layers of joint compound with ease.
Conclusion: Practice Makes Perfect
Achieving a flat joint tape finish may take practice, but mastering this skill will improve the overall quality of your drywall project. Remember to maintain a gentle yet firm pressure when wiping, avoiding squeezing out too much mud. With time and experience, you’ll develop a technique that works best for you, helping you create professional-looking walls in no time.